Guide to adjusting automatic replies for shared mailboxes
Step 1: Visit outlook.com/ontariotechu.ca and login with your Banner ID and Network Password (if you aren't already logged in).
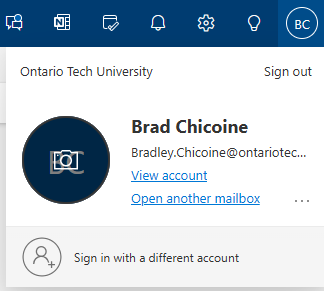
Step 2: Select your profile icon in the upper-right and select Open another mailbox.
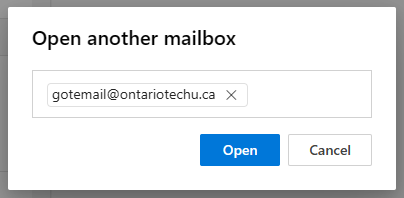
Step 3: Enter the name of mailbox you wish to change the automatic replies message on and select the Open button.
Step 4: Select the settings gear icon in the upper right.
![]()
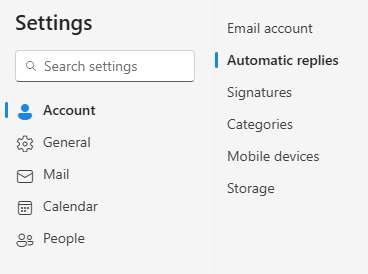
Step 5: Select Account on the left and then Automatic replies for the menu that appears to the right.
Step 6: Select the switch for Turn on automatic replies so it is to the right and specify the desired information in the Send automatic replies inside your organization text box. You can also select the Send replies outside your organization checkbox and fill in the corresponding text box as necessary.
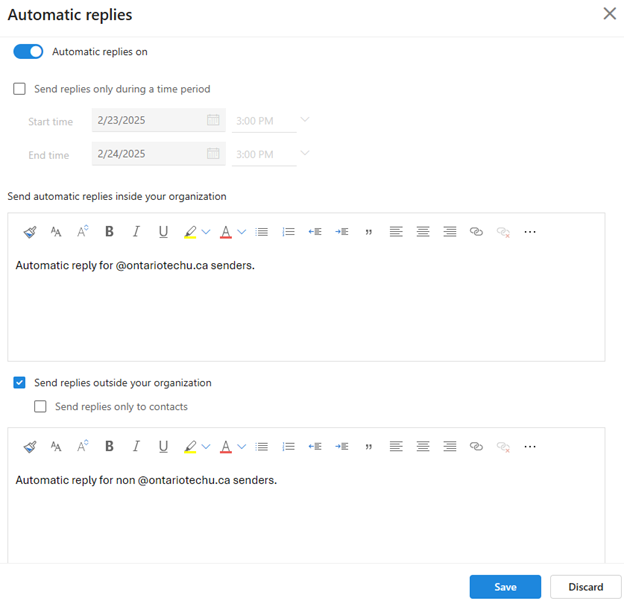
Step 7: When done, select the Save button.