Installing a printer through the Software Portal
Before you can print, you will need the following:
- Valid student number and network password.
- Printer queue you would like to print to. Please note: each printer will have its unique printer name/queue displayed on a sticker located on each printer.
Important notes:
- If you are printing a PDF document from a browser it is recommended to download the PDF first.
- Turn off any VPN services before submitting a print job.
- Ensure you are connected to CAMPUS-AIR and have your IP configuration set to automatic.
Step 1: Open a web browser and visit the Software Portal. Select the red Software Portal Login button.
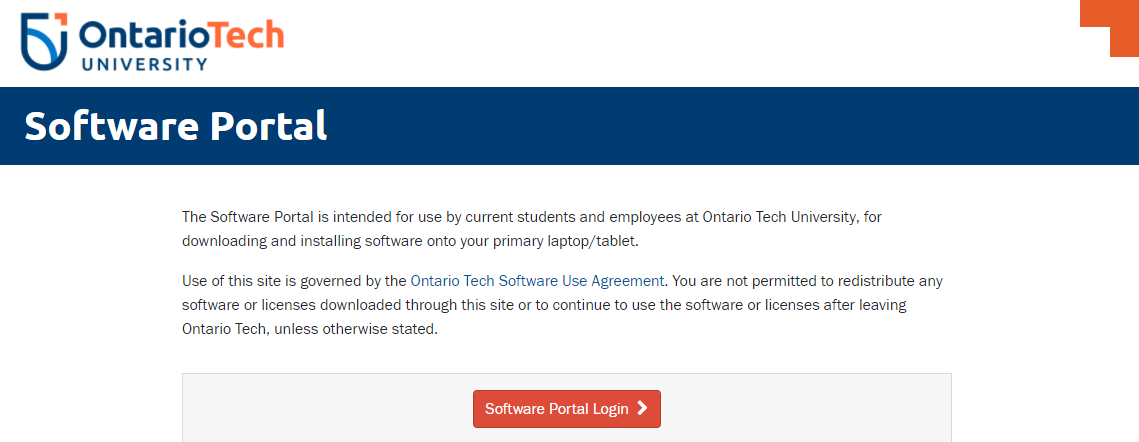
Step 2: Enter your student number and network password and select Sign in.
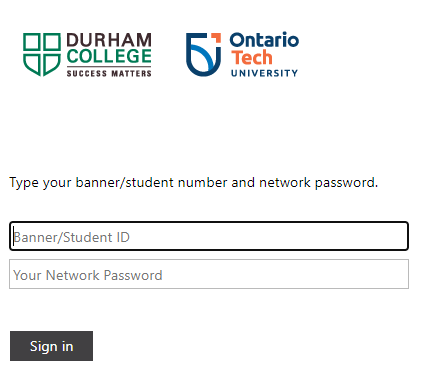
Step 3: From the list of software, locate and select Ontario Tech Printer Installer. Once opened, select the Download button.
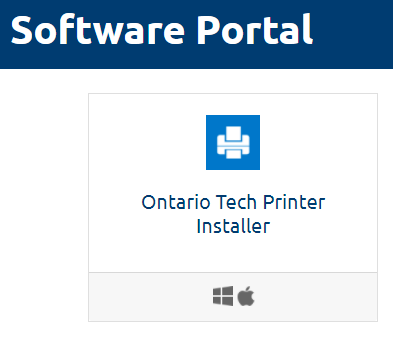
Step 4: Run the Ontario Tech Printer Installer. The following screen will appear.
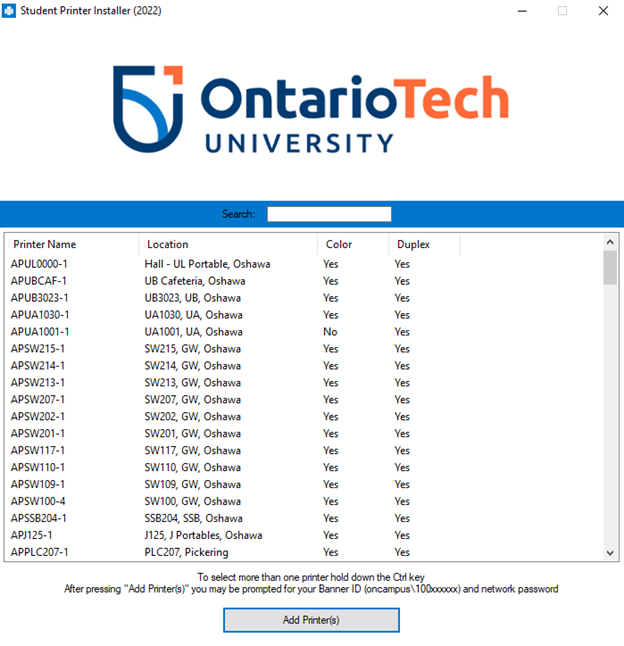
Step 5: Search for the desired printer by name or location.
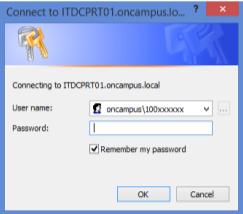
Step 6: You may be prompted to authenticate with your network credentials. If so, enter your student number and network password using the following format.
- Username: oncampus\100xxxxxx
- Password: *********
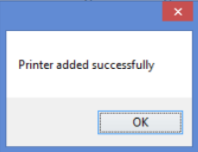
Step 7: The printer will now be installed. Once the installation is complete you will receive the following message. The Printer Installer can now be closed and you can print to a printer.
You are now ready to print your document.
If you are experiencing issues, you can also install printer manually (Windows) or (Mac).
