Installing a printer manually (Mac)
Before you can print, you will need the following:
- Valid student number and network password.
- Printer queue you would like to print to. Please note: Each printer will have its unique printer name/queue displayed on a sticker located on each printer.
Important notes:
- If you are printing a PDF document from a browser, it is recommended to download the PDF first.
- Turn off any VPN services before submitting a print job.
- Ensure you are connected to CAMPUS-AIR and have your IP configuration set to automatic.
- Printers can be configured to print in colour or black and white. Please check the printer configuration for some applications, such as Office 365, to change the colour mode.
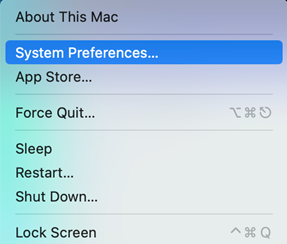
Step 1: Select the Apple Menu icon ![]() and select System Preferences.
and select System Preferences.
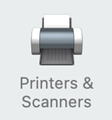
Step 2: Select Printer & Scanners.
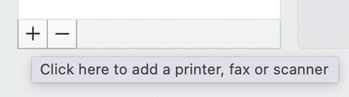
Step 3: Select the + sign and select Add printer or Scanner.
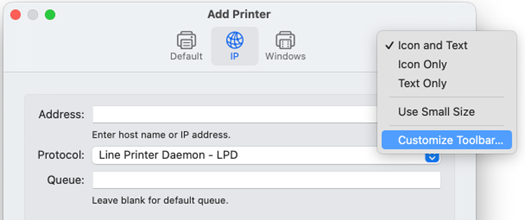
Step 4: Hover over the toolbar in the Add printer utility, hold the control key, and left-click to open a menu.

Step 5: Right-click anywhere in the top menu bar, and select Customize Toolbar.
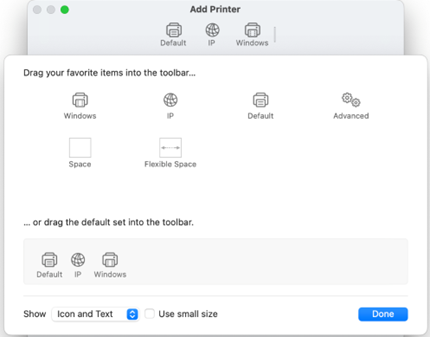
Step 6: Drag the Advanced icon ![]() to the Add prompt toolbar and select Done.
to the Add prompt toolbar and select Done.
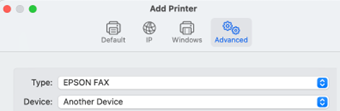
Step 7: Select Advanced on the toolbar.

Step 8: Select the blue arrows on the right of the Type field.
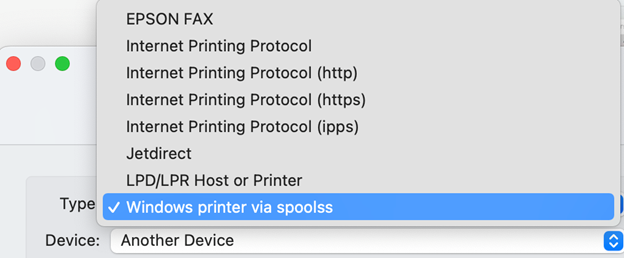
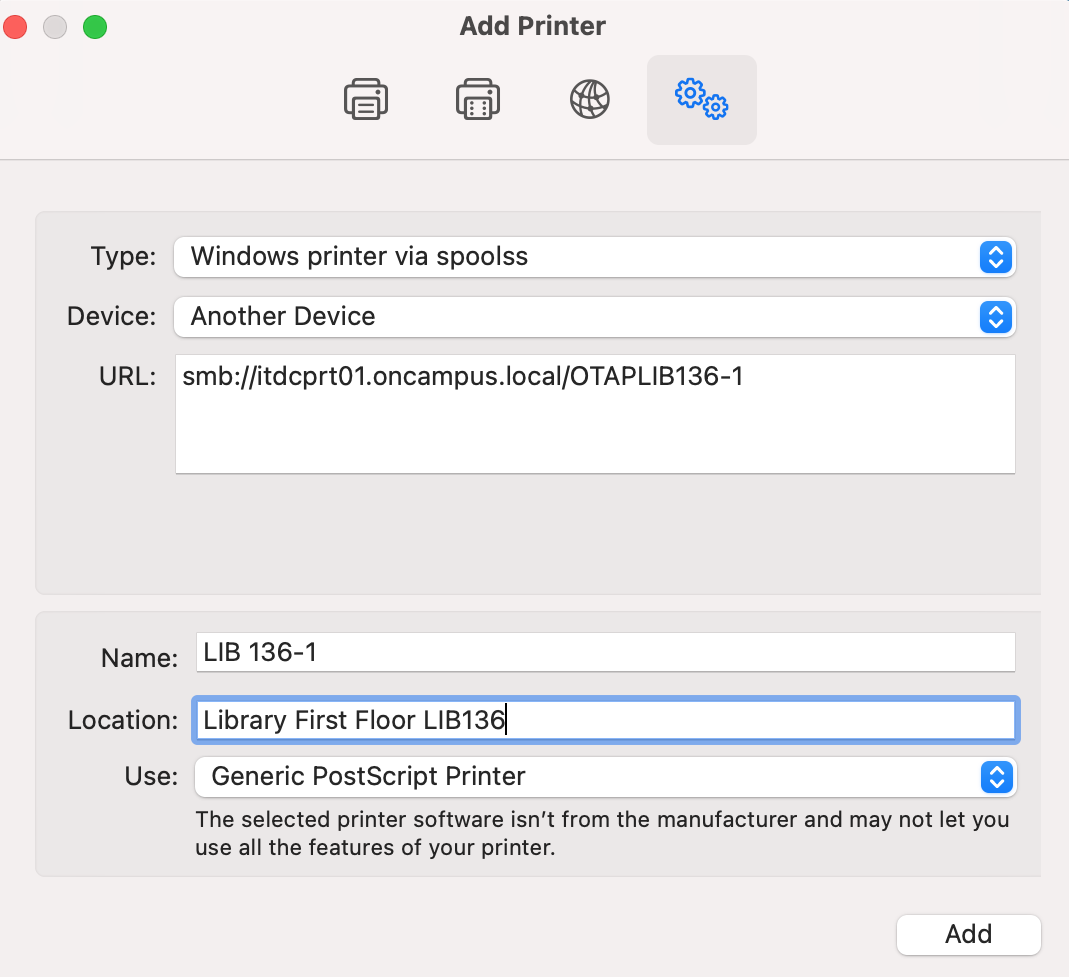
Step 9: Select Windows printer via spoolss.
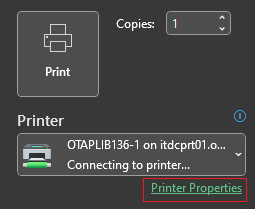
Step 10: Enter the desired printer queue in the URL field (i.e., smb://itdcprt01.oncampus.local/OTAPLIB136-1).
Under the Name and Location field, type in the appropriate print queue information (see example below). Under the Use field, select driver to open a menu and select Generic PostScript Printer. Select Add.
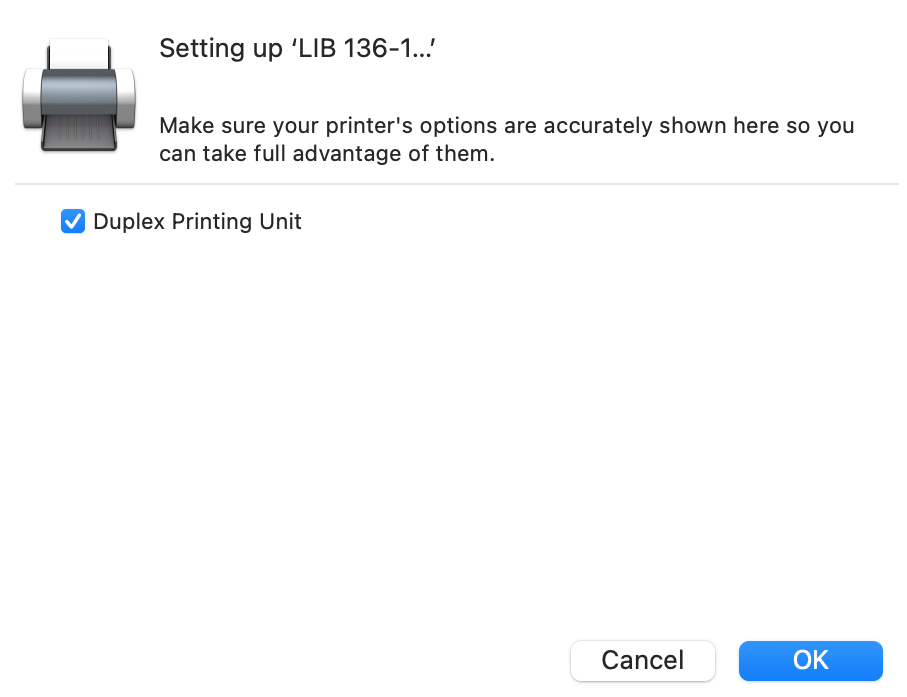
Step 11: Check the box next to Duplex Printing Unit and select Ok.
Step 12: The printer queue has been successfully added to your device.
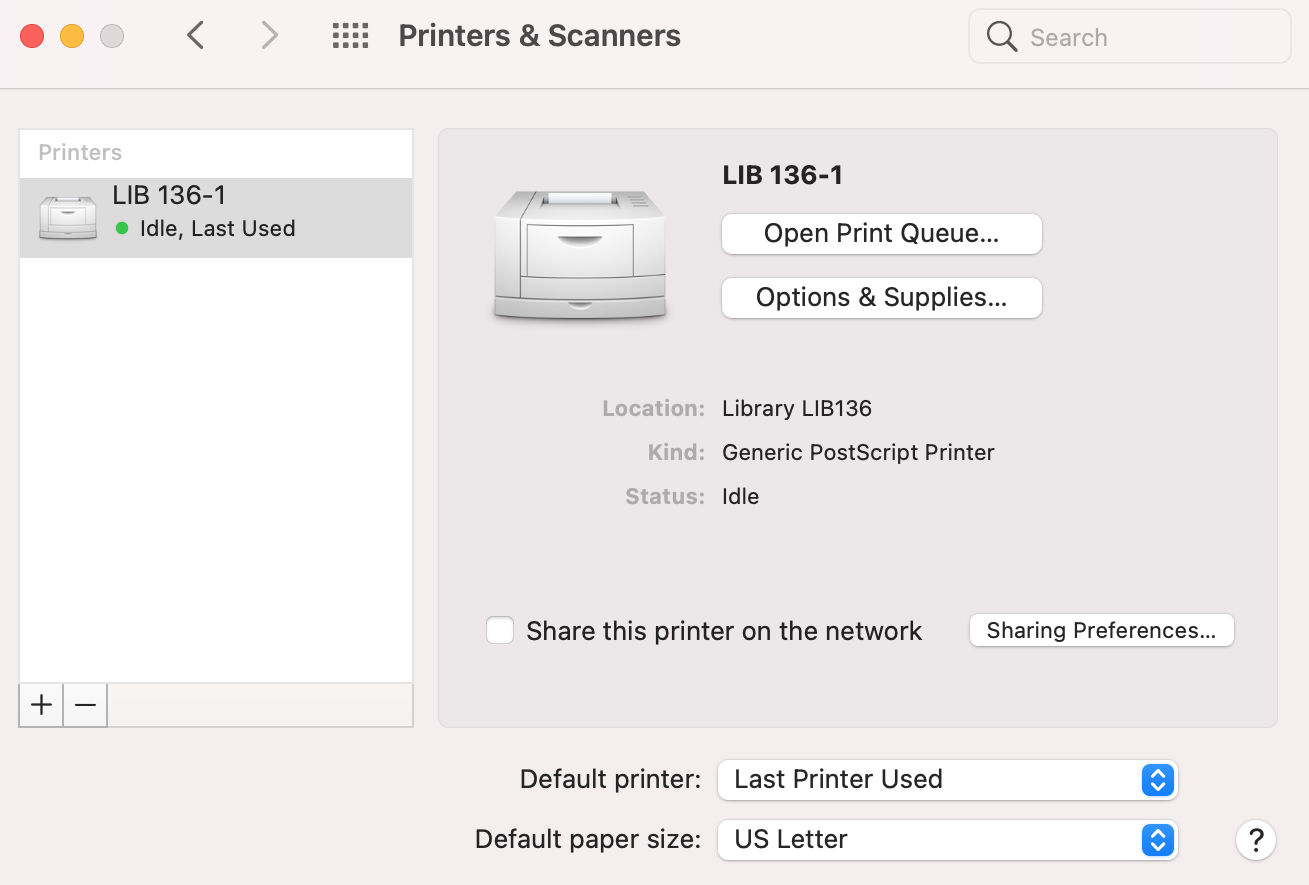
You are now ready to print your document.