Installing a printer manually (Windows)
Before you can print, you will need the following:
- Valid student number and network password.
- Printer queue you would like to print to. Please note: Each printer will have its unique printer name/queue displayed on a sticker located on each printer.
Important notes:
- If you are printing a PDF document from a browser, it is recommended to download the PDF first.
- Turn off any VPN services before submitting a print job.
- Ensure you are connected to CAMPUS-AIR and have your IP configuration set to automatic.
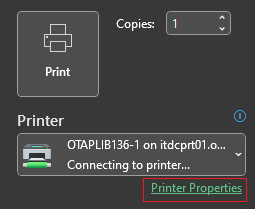
- Printers can be configured to print in colour or black and white. Please check the printer configuration for some applications, such as Office 365, to change the colour mode.
Step 1: Press ![]() + R on your keyboard to open the Run box.
+ R on your keyboard to open the Run box.
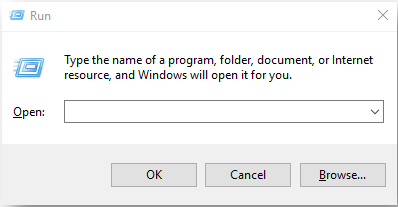
Step 2: Enter the printer queue name in the Open box dependent on your location and select OK.
i.e. \\itdcprt01.oncampus.local\OTAPLIB136-1
Step 3: A Windows Security box will appear. (Please note: If you do not receive the login prompt below, skip to step 5.)
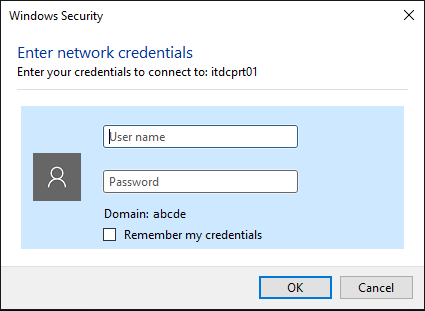
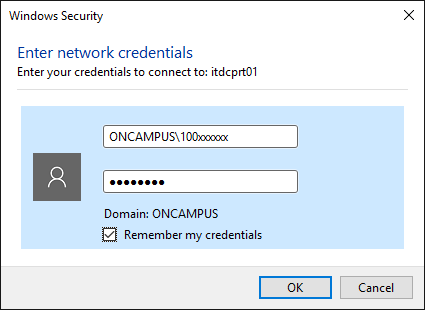
Step 4: In the User name box, enter ONCAMPUS\YourStudentNumber (i.e. ONCAMPUS\100123456) and your network password. Check the Remember my credentials box and select OK.
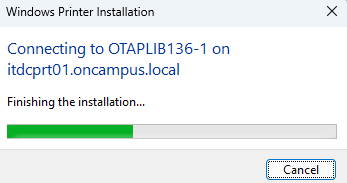
Step 5: The Windows Printer Installation box will appear. Your computer is now installing the printer queue driver.
Step 6: The below box will appear to confirm the printer queue has been installed. Close the box by selecting the X in the top-right corner.
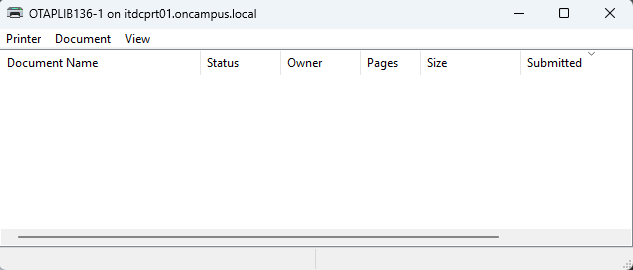
You are now ready to print your document.