Ontario Tech acknowledges the lands and people of the Mississaugas of Scugog Island First Nation.

We are thankful to be welcome on these lands in friendship. The lands we are situated on are covered by the Williams Treaties and are the traditional territory of the Mississaugas, a branch of the greater Anishinaabeg Nation, including Algonquin, Ojibway, Odawa and Pottawatomi. These lands remain home to many Indigenous nations and peoples.

We acknowledge this land out of respect for the Indigenous nations who have cared for Turtle Island, also called North America, from before the arrival of settler peoples until this day. Most importantly, we acknowledge that the history of these lands has been tainted by poor treatment and a lack of friendship with the First Nations who call them home.

This history is something we are all affected by because we are all treaty people in Canada. We all have a shared history to reflect on, and each of us is affected by this history in different ways. Our past defines our present, but if we move forward as friends and allies, then it does not have to define our future.

Learn more about Indigenous Education and Cultural Services

Installing a printer (faculty and staff)

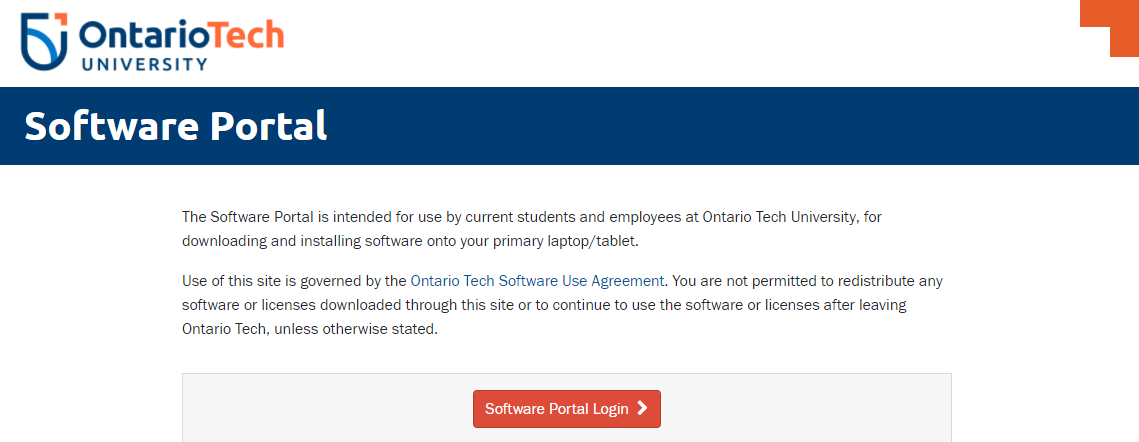
Step 1: Open a web browser and visit the Software Portal. Select the red Software Portal Login button.

Software Portal sign in screen

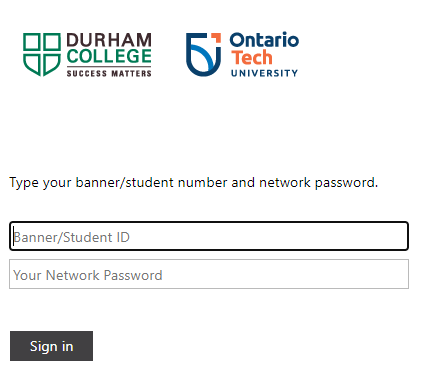
Step 2: Enter your Banner number and network password and select Sign in.

Enter Ontario Tech credentials screenshot

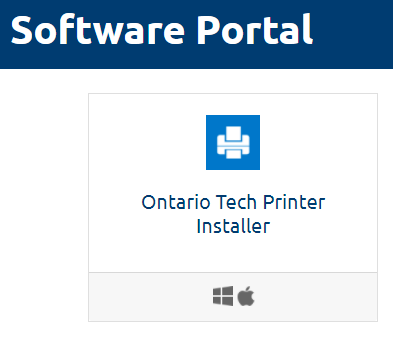
Step 3: From the list of software, locate and select Ontario Tech Printer Installer. Once opened, select the Download button.

Ontario Tech Installer App screenshot

Step 4: Run the Ontario Tech Printer Installer. The following screen will appear.

Printer Installer menu screenshot

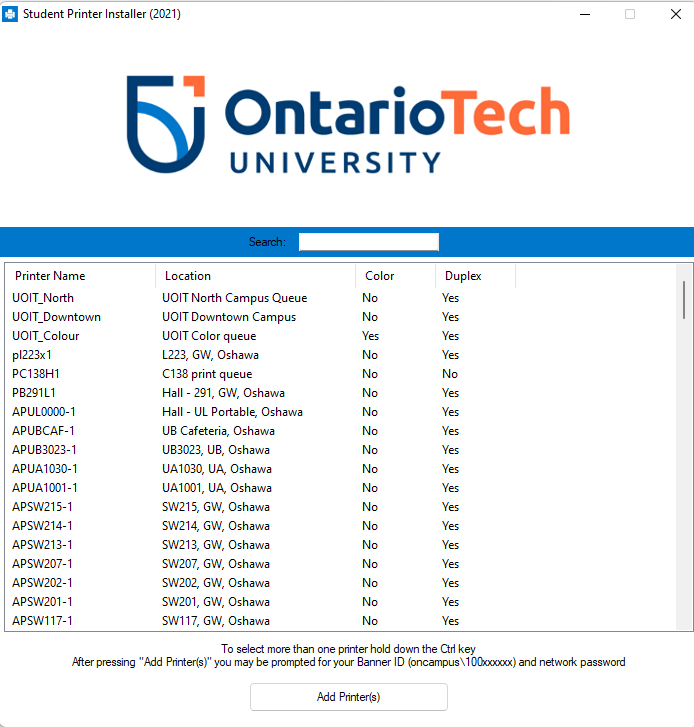
Step 5: Select the printer you wish to install and hit the Add Printer(s) button.

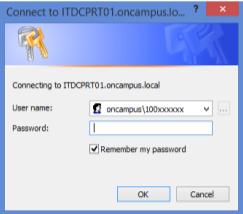
Step 6: You may be prompted to authenticate with your network credentials. If so, enter your Banner number and network password using the following format.

  • Username: oncampus\100xxxxxx
  • Password: *********

Authenticate network access screenshot

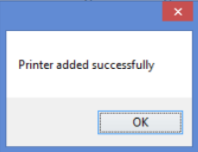
Step 7: The printer will now be installed. Once the install is complete you will receive the following message. The Printer Installer can now be closed and you can print to a printer.

Printer added successfully screenshot

FAQs Submit a ticket Ask a question Software help