Adding printer to University laptop (faculty and staff)
Faculty and staff cannot print to student printers as they will not have print credits in PaperCut. Please use the instructions listed below for personally owned laptops as well as OntarioTech University imaged laptops.
Step 1: Find the name of the printer and the name of the print server. It is usually on a label affixed to the front of the printer,
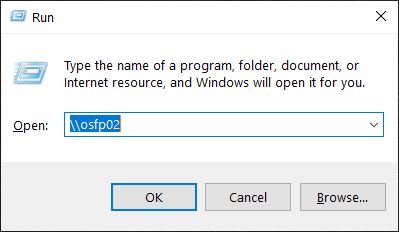
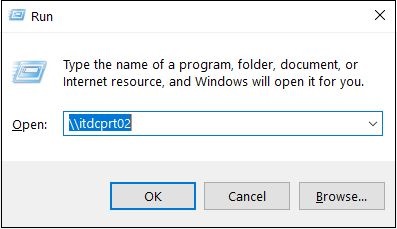
- Faculty/staff printers are on the \\osfp02 or \\itdcprt02 server.
- The printer will be named after the room it is in, prefixed with the letter P.
For example: SW100 is on the \\itdcprt02 server and is named PSW100-1. Therefore, to connect to this printer, the path is \\itdcprt02\PSW100-1.
Step 2: Press the Windows key + R to open the Run window.
Step 3: Type in two backslashes \\ followed by the name of the print server (i.e. \\osfp02) and select OK.


Step 4: If you are using a university laptop then Windows will automatically authenticate. However, if you are using a personal laptop, you will be prompted for login credentials.
- Username: Banner ID or ONCAMPUS\100XXXXXX
- Password: Network password
Step 5: Find the printer you would like to connect to in the window that pops up and double-select it. Windows should automatically find and install the driver, and add the printer to your laptop.
Step 6: Select Start and search Printers & scanners. Select the newly added printer and select Manage. Select Set as default.
