Connecting to the network using Windows 8.1/10
Step 1: Select the wireless network icon in the taskbar.

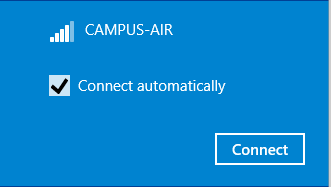
Step 2: Select CAMPUS-AIR from the list of networks, and select Connect.

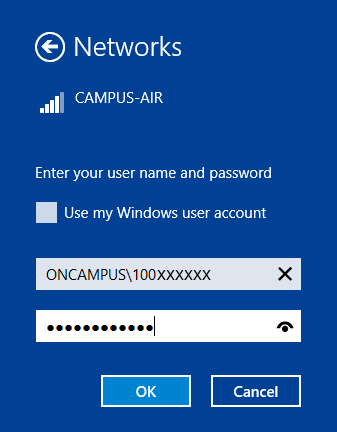
Step 3: In the user name field, type ONCAMPUS\100xxxxx with your student number and enter in your network password.

If a message warns that Windows cannot verify the server’s identity (security certificate) select Connect to allow the connection to the server. This does not pose a security risk, it is just a security policy in Windows.
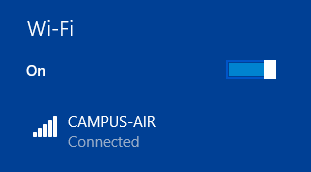
Step 4: You will see the Connected status under the network name.

You are now connected to the network. If you experience issues, contact the IT Service Desk.
