Installing GlobalProtect VPN for macOS
To install VPN:
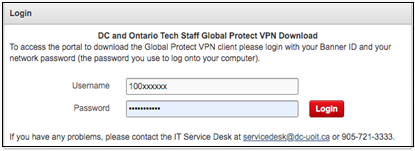
Step 1: Launch a web browser and visit http://vpn.dc-uoit.ca, sign in with your university credentials.
- Username (if Faculty/Staff): 100XXXXXX
- Username (if work-study Student): S00XXXXXX
- Password: Network password (this is the password used to log into your university issued computer)
If access is denied please request VPN by completing the VPN Request form.
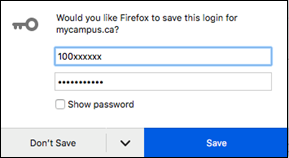
Step 2: Select Don't Save if the dialog box asking to save username and passwords appears. You do not need to save as this procedure may happen only once.
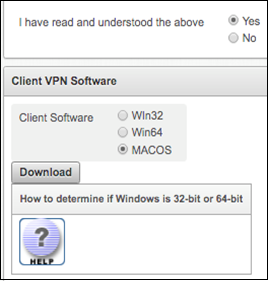
Step 3: Select Yes beside I have read and understood the above terms and conditions. Then select MACOS and select Download.
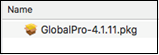
Step 4: Proceed to the Download folder and find GlobalPro-4.X.X.pkg and double-select it.
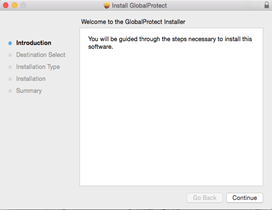
Step 5: Follow the installation process, select Continue.
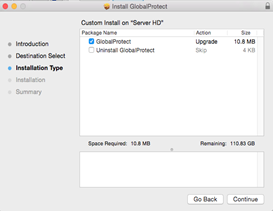
Step 6: Select Continue.
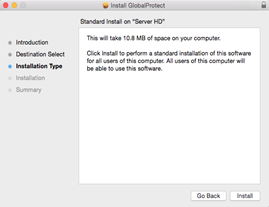
Step 7: Select Install.
Step 8: Sign in with your university credentials and select Install Software.
• Username: Banner ID (100XXXXXX)
• Password: Network password (this is the password used to log into your computer).
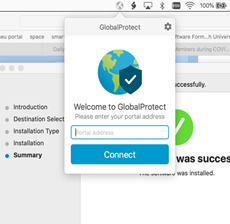
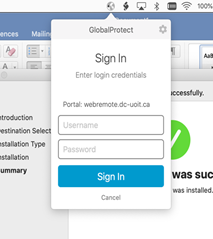
Step 9: The GlobalProtect screen will appear. Enter the portal address webremote.dc-uoit.ca and select Connect.
Step 10: Sign in by entering your university credentials and select Sign In.
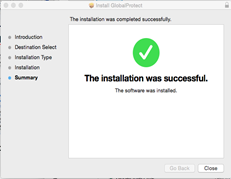
Step 11: Select Close.
Step 12: You are now connected to the VPN. You will see a black globe with a black shield ![]() on the right-side of the menu bar. If the connect is unsuccessful (or if you are not connected) the globe will be greyed out
on the right-side of the menu bar. If the connect is unsuccessful (or if you are not connected) the globe will be greyed out![]() .
.
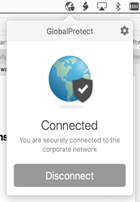
Step 13: To disconnect, select the black globe and a pulldown menu the menu, select Disconnect.